Featured News
Documentary Film: Shooting & Editing Tips
April 17, 2020
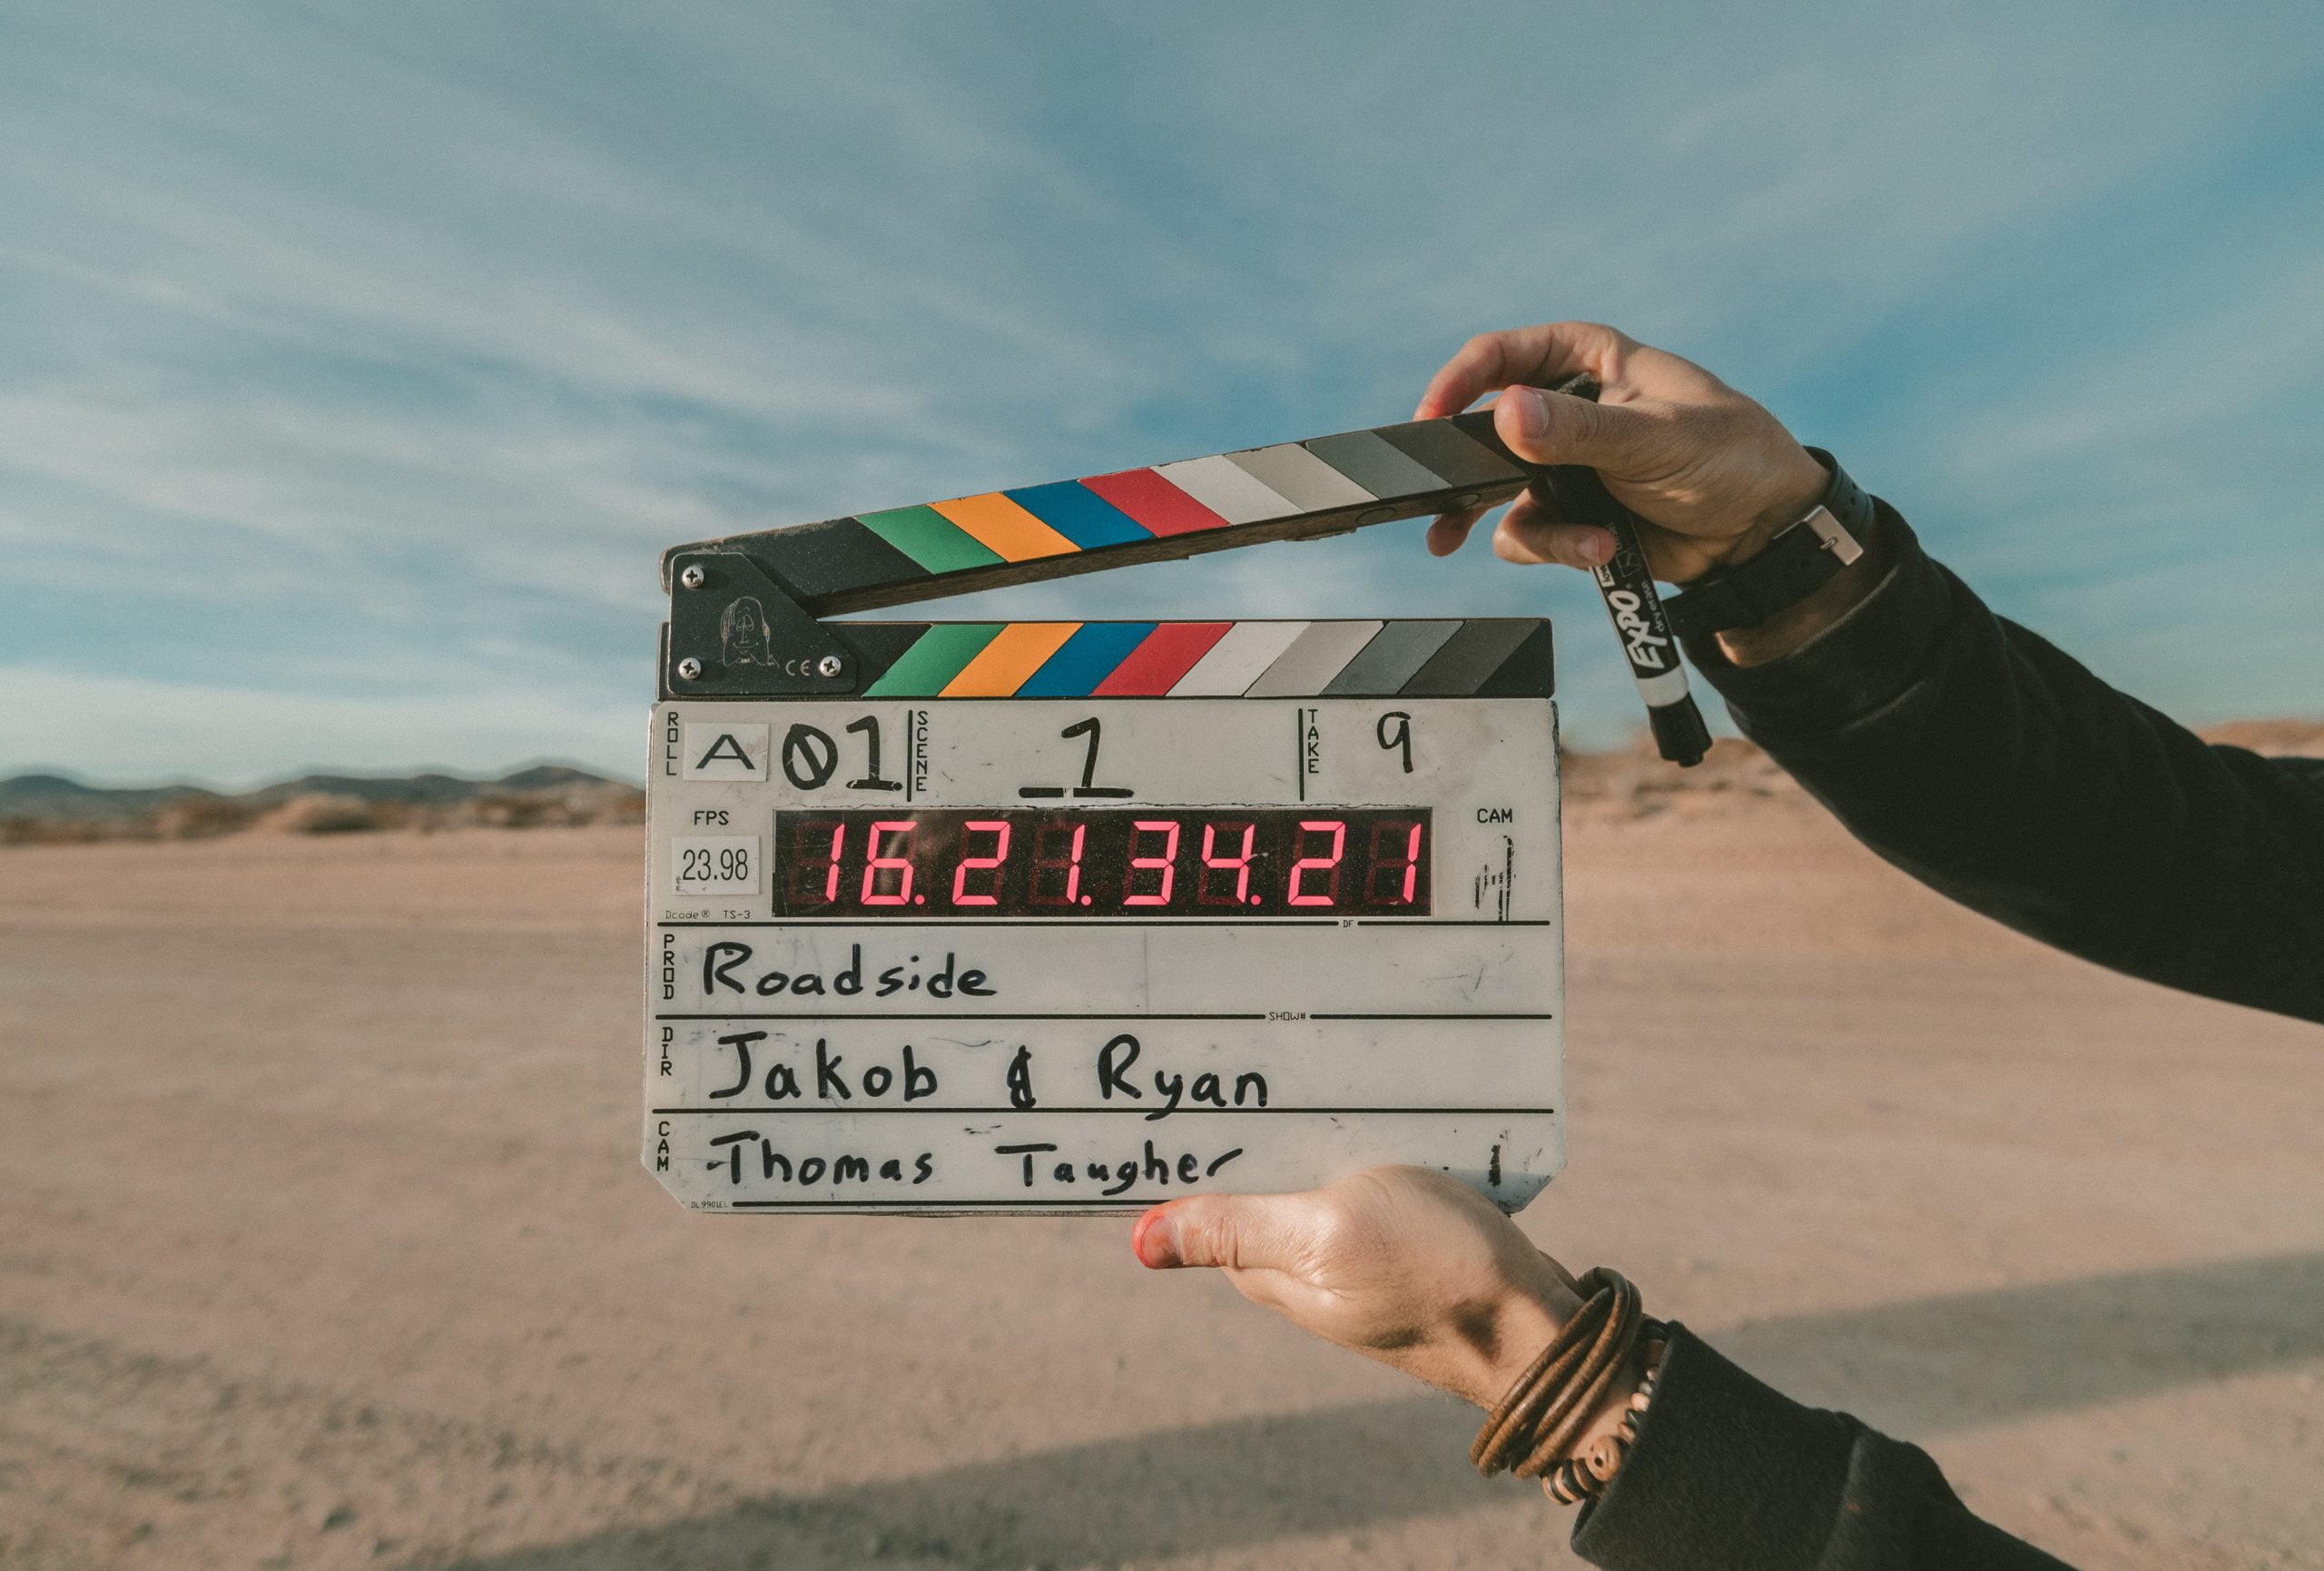
Documentary films hope to candidly capture a story from real life. This usually involves hundreds of hours of filming and tons of editing. Here are some tips on how to get started on your documentary film project.
Choosing a Good Topic
- Make it a topic you are passionate about.
- Don’t film something that everyone already agrees on. The point is to stir up some controversy or show a different viewpoint.
- Decide whether your topic will be grandiose or small-scale. Then stick to it.
The first step can sometimes take the most planning. Defining what your documentary will be about is the single most important step because all other steps in filming a documentary follow this first step.
Do Your Research
It is important that you do proper research about your topic. It is essential as a documentary filmmaker that you base your film in truth. To ensure your documentary is as accurate as possible, be sure to: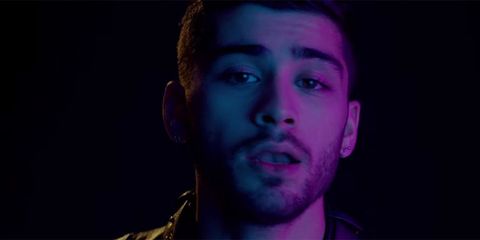
- Take notes as you conduct research, so no important details are left out of the film.
- Interview people, read up on appropriate literature, and check other similar documentaries.
- Decide which points will enlighten your audience and resonate the most with them.
- Make the angle of your topic interesting, emotional, and inspiring.
Shooting Tips
- Use a lot of close-ups and medium shots over wide shots—wide shots are great for establishing scenes but aren’t enough to maintain audience attention. Close-ups & medium shots make the speaker on camera more relatable.
- Avoid jump cuts with b-roll of multiple camera angles. This can be jarring, and you usually want to guide your audience smoothly through the narrative.
- When you don’t have footage, use photos. Using photos can help hide edits, jump cuts, and static shots.
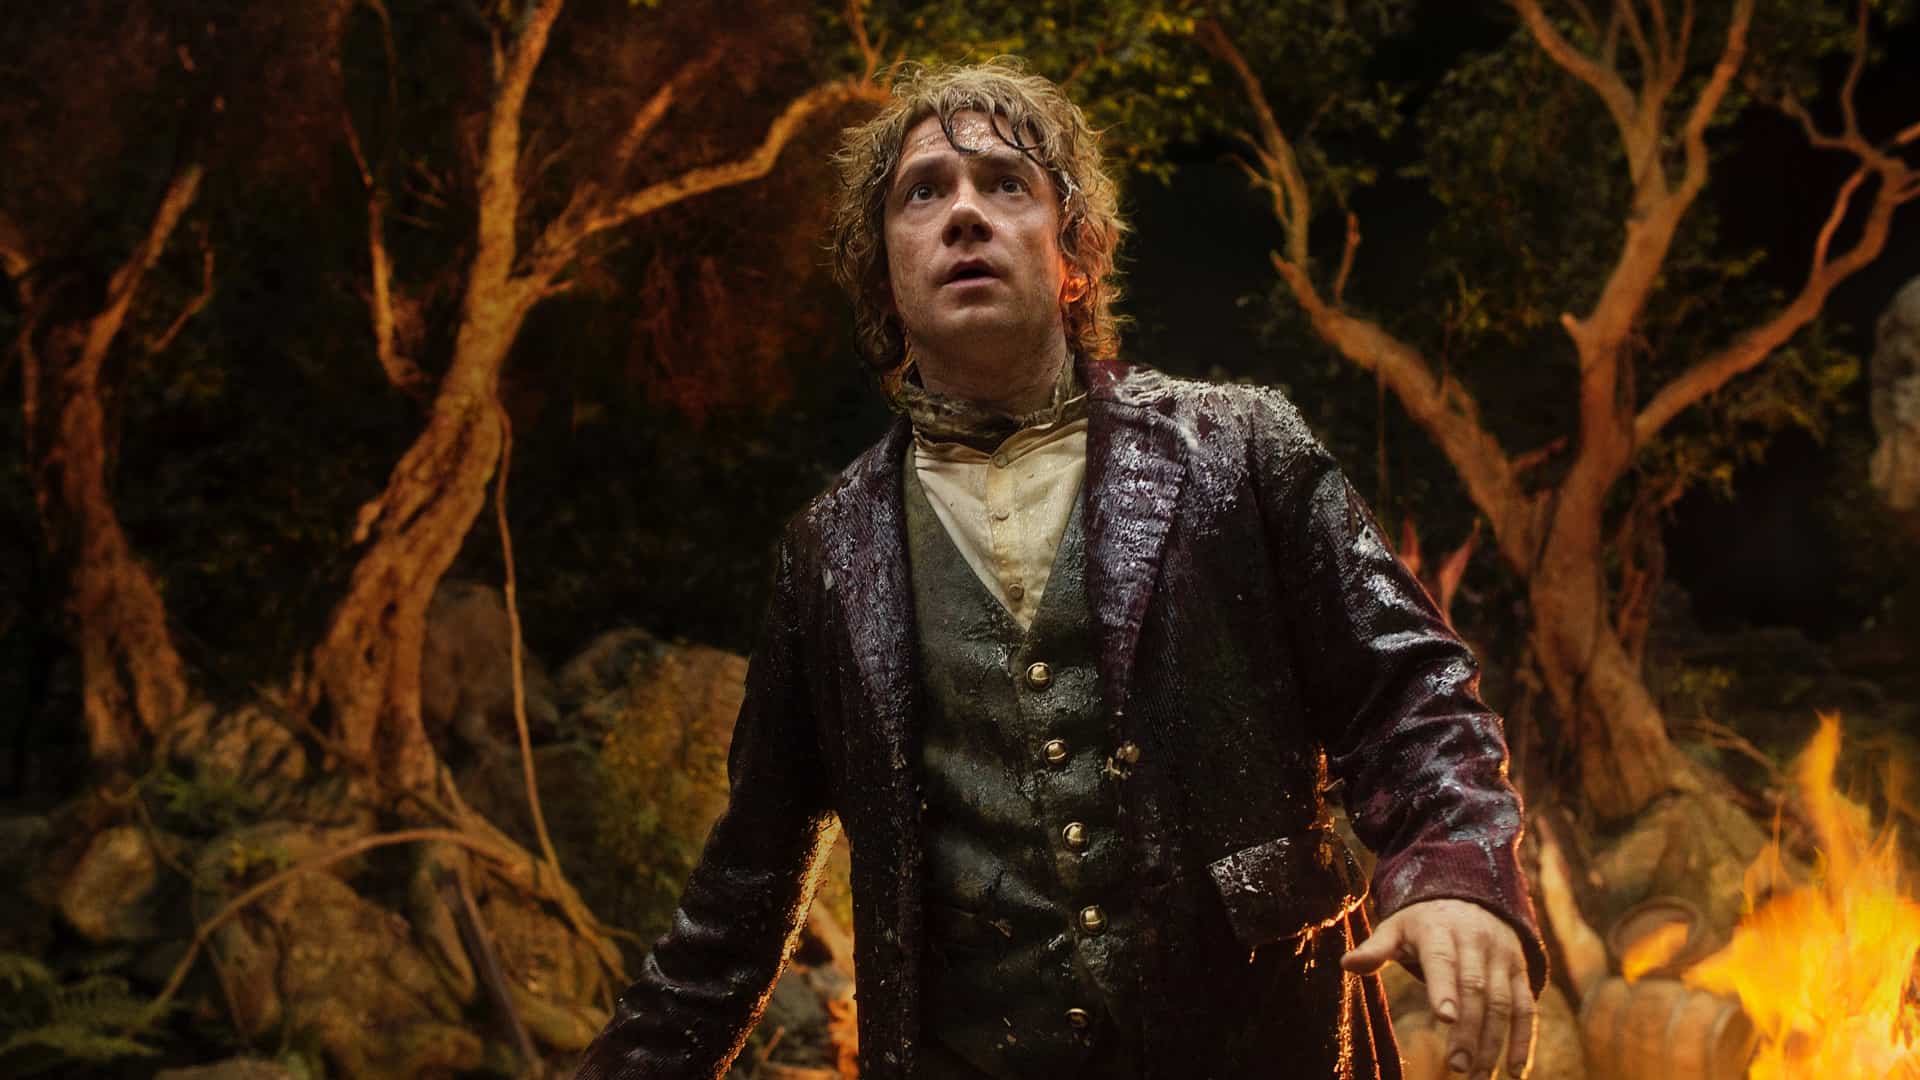
Here is a close-up and a medium shot:


Editing Your Documentary
Organizing the footage
Shooting documentaries will leave you with lots of footage, there’s no way around it. The best way to stay organized is to create folders & bins for your project. The worst thing is to be editing footage on your timeline and to have no clear way to distinguish clips from each other.
- Create and name video project folders (in most cases folders are already made automatically, they just need to be renamed).
- Separate interview footage from b-roll footage and treat each as completely separate. B-roll is to add some variety to the film; the interview footage is a core aspect.
- If you have multiple clips of the same interview make sure to use different naming or numbering to distinguish them from each other. One way to do this is to label your files by date and clip number. For example, naming a file “Librarian Interview 2020-04-17_3” could mean that it is the third clip of the interview you made with a librarian on April 17, 2020.
Create Sequences for individual interviews on timeline
- Create individual timelines for each interview.
- Make cuts between answers and start piecing your story together.
- Cut one sequence at a time.
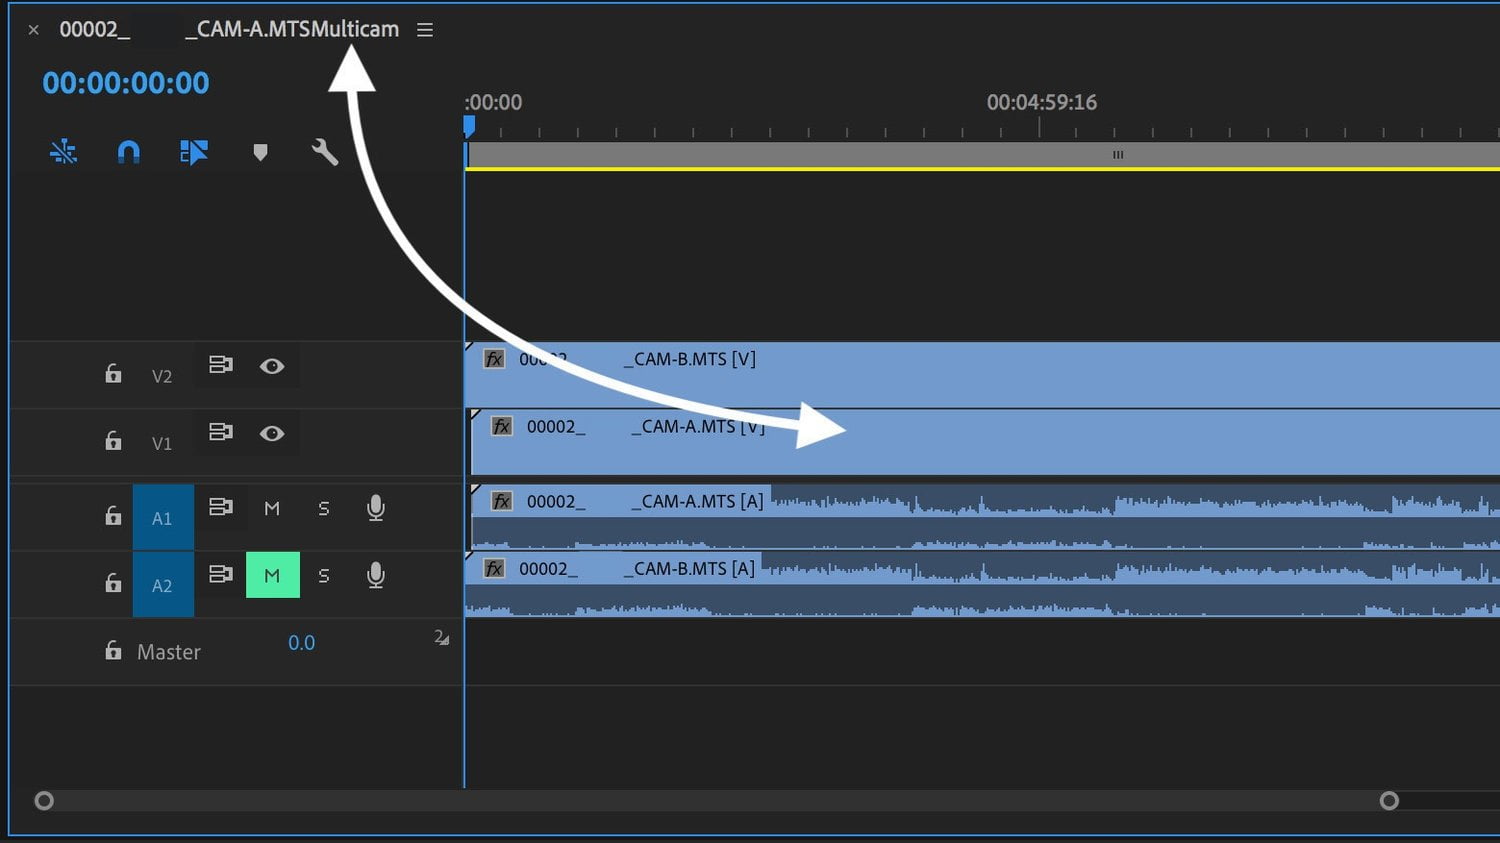
- Using different audio clips from interviews & b-roll. If placed correctly, audio can tell a powerful story within itself. Be creative, using the multiple video tracks provided in your editing software to get through all of your footage in an efficient way.
Backup everything
Make sure you have already backed up your project by copying the folder structure into an external hard drive. If possible, keep this external drive off site for safe keeping. To be extra careful, save your files to another external drive or to a cloud storage drive online (such as Google Drive, Microsoft OneDrive, or Box).
Helpful links
Ask a Librarian
Do you have questions about our recent news or upcoming events? Let us know.
Learn How